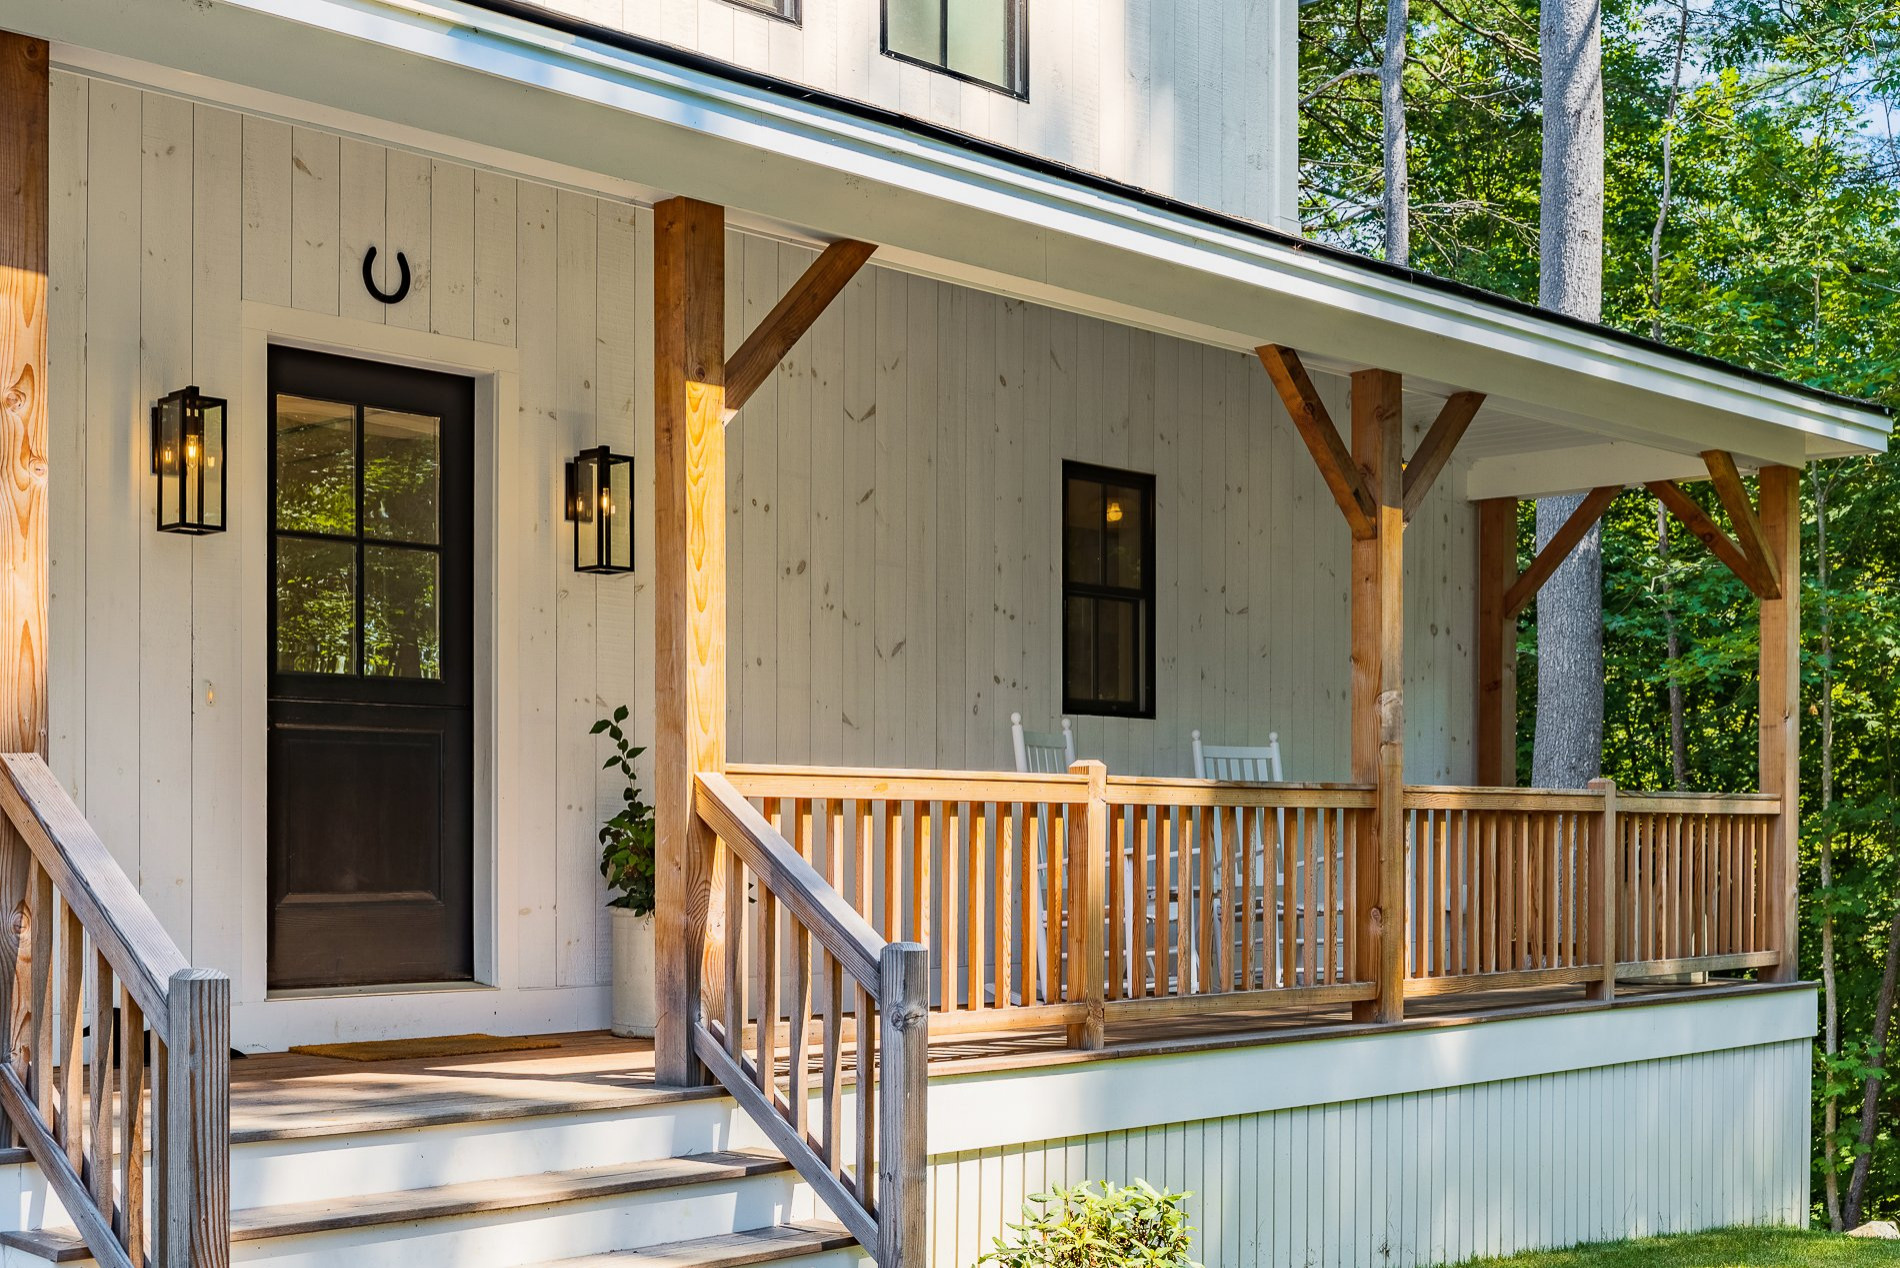
Installing aluminum porch railings can significantly enhance the safety and aesthetic appeal of your outdoor space. Aluminum railings are renowned for their durability, low maintenance requirements, and sleek design. Whether you’re a seasoned DIY enthusiast or a first-time installer, understanding the key steps and considerations involved in installing aluminum porch railings is crucial for achieving a professional finish. This guide will walk you through the process, offering expert tips and insights to ensure a successful installation.
Benefits of Aluminum Porch Railings
Before diving into the installation process, it’s important to recognize why aluminum is a preferred material for porch railings. Here are some advantages:
- Durability: Aluminum is resistant to rust and corrosion, making it ideal for outdoor applications.
- Low Maintenance: Unlike wood, aluminum does not require frequent painting or sealing.
- Versatility: Available in a range of colors and styles to match any home design.
- Eco-Friendly: Aluminum is recyclable, contributing to sustainable building practices.
Preparation and Planning
Assessing Your Porch
Begin by evaluating the layout and dimensions of your porch. Consider the following:
- Measure the length and width to determine the amount of material needed.
- Identify any unique architectural features that may affect installation.
- Ensure that the porch is structurally sound and able to support the new railings.
Choosing the Right Aluminum Railing System
Selecting an appropriate railing system is key to achieving the desired look and functionality. Discover expert strategies here for choosing the best system for your project.
Installation Process
Gathering Necessary Tools and Materials
Before starting, ensure you have the following tools and materials:
- Aluminum railings and posts
- Drill and drill bits
- Level
- Measuring tape
- Screws and anchors
- Safety gear such as gloves and goggles
Step-by-Step Installation
- Mark the Post Locations: Use a measuring tape and level to mark where each post will be installed. Ensure they are evenly spaced and aligned.
- Install the Posts: Drill holes for the anchors, then secure each post using the appropriate screws. Double-check that each post is perfectly vertical.
- Attach the Railings: Once the posts are in place, attach the horizontal railings. It is crucial to ensure they are level for both aesthetics and safety.
- Install Balusters: Secure the balusters between the top and bottom railings, maintaining consistent spacing.
- Final Adjustments: Check the entire system for stability and make any necessary adjustments. Tighten all screws and ensure all components are securely fastened.
For more detailed guidance on the installation process, explore advanced guides and tips tailored to specific railing systems.
Post-Installation Tips
Once your aluminum porch railings are installed, consider the following maintenance tips:
- Regularly inspect the railings for loose screws or damage.
- Clean the railings with mild soap and water to maintain their appearance.
- Avoid using harsh chemicals or abrasive materials that can damage the finish.
For ongoing maintenance advice, learn about our tailored solutions to keep your railings in pristine condition.
Conclusion
Installing aluminum porch railings is a rewarding project that combines functionality with aesthetic enhancement. By following the steps outlined in this guide and utilizing expert advice, homeowners can achieve a secure and stylish outdoor space. With proper planning and execution, aluminum railings can provide lasting value and appeal to any home.